
Collect events from websites
Start collecting events from your websites and web apps.
 View as Markdown
Ingesting events directly from your websites and web apps lets Krenalis capture user interactions in real time and store them as structured events. The JavaScript SDK automatically tracks, maps, and sends this data to your workspace, where it can be stored in the data warehouse, unified, analyzed, and used to trigger pipelines through activation.
Prerequisites
Before getting started, make sure you have everything you need:
- Access to the website pages you want to connect with Krenalis.
- The ability to edit those pages or the web application so you can integrate the Krenalis JavaScript SDK.
Steps
If you've already created a source connection for these websites, you can reuse it and start with the Debug the events step.
1. Connect a website
Create a source connection to start tracking events from your site. This connection links your web pages to Krenalis.
- Go to the Sources page of your Krenalis workspace.
- Click on Add a new source ⊕ and click on the JavaScript card.
- Click on Add source....
- Optionally rename the connection.
- Click Add to confirm.
The connection you just created is a source connection. You can access it later by clicking the Sources section in the sidebar. If you manage multiple websites that share the same user base (for example, through a unified login), it's preferable to create a single source connection for all of them.
2. Set up your website
Choose one of the following alternative methods to integrate the SDK, depending on your project setup:
Snippet
💡 Use this method if your website doesn't use a build system and you can directly edit the HTML source.
- In the newly created JavaScript connection, copy the JavaScript snippet:

-
Paste it into all pages of your website between
<head>and</head>. -
As a test, add the following code to one of your pages to collect user data and send it to Krenalis:
<script>
krenalis.track('Workout Completed', {
    workout_type: 'Cardio',
    duration_minutes: 45,
    calories_burned: 380,
    device: 'Smartwatch'
});
</script>
💡 For detailed SDK methods and configuration options, see the JavaScript SDK.
Import
💡 Use this method if your project uses ES6 modules or TypeScript and is bundled for the browser.
The JavaScript SDK can be imported with import into TypeScript and JavaScript projects that use ES6 modules and will be bundled to run in the browser.
-
In the newly created JavaScript connection, navigate to Settings.
-
Click on Event write keys.
-
Copy the event write key and the endpoint.
-
In your project, install the
krenalis-javascript-sdknpm package:npm install krenalis-javascript-sdk --save -
Import and use the SDK, replacing
<event event write key>and<endpoint>respectively with the previously copied event write key and endpoint:import Krenalis from 'krenalis-javascript-sdk'; const krenalis = new Krenalis('<event write key>', '<endpoint>'); // As a test, collect track events and send them to Krenalis: krenalis.track('Workout Completed', { workout_type: 'Cardio', duration_minutes: 45, calories_burned: 380, device: 'Smartwatch' });💡 For detailed SDK methods and configuration options, see the JavaScript SDK.
Require
💡 Use this method if your project uses CommonJS modules and is bundled for the browser.
The JavaScript SDK can be imported with require into JavaScript projects that use CommonJS modules and will be bundled to run in the browser.
-
In the newly created JavaScript connection, navigate to Settings.
-
Click on Event write keys.
-
Copy the event write key and the endpoint.
-
In your project, install the
krenalis-javascript-sdknpm package:npm install krenalis-javascript-sdk --save -
Import and use the SDK, replacing
<event write key>and<endpoint>respectively with the previously copied event write key and Endpoint:const { Krenalis } = require('krenalis-javascript-sdk'); const krenalis = new Krenalis('<event write key>', '<endpoint>'); // As a test, collect track events and send them to Krenalis: krenalis.track('Workout Completed', { workout_type: 'Cardio', duration_minutes: 45, calories_burned: 380, device: 'Smartwatch' });💡 For detailed SDK methods and configuration options, see the JavaScript SDK.
3. Debug the events
-
In the source JavaScript connection, click on the Event debugger tab:
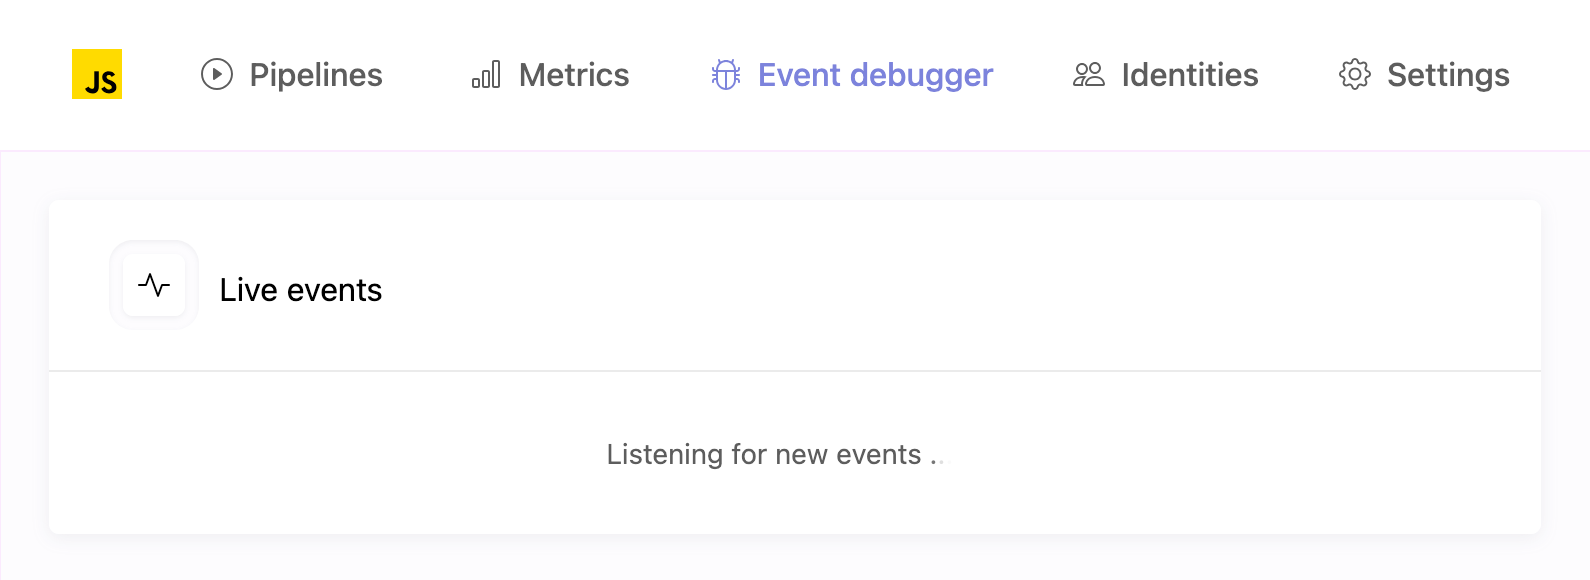
The Event debugger shows a sample of events currently received for the current connection. Use it whenever you need to quickly confirm that events are arriving as expected and to inspect their contents in real time.
-
Open the page on your website where you added the
trackcall; the event should appear almost immediately: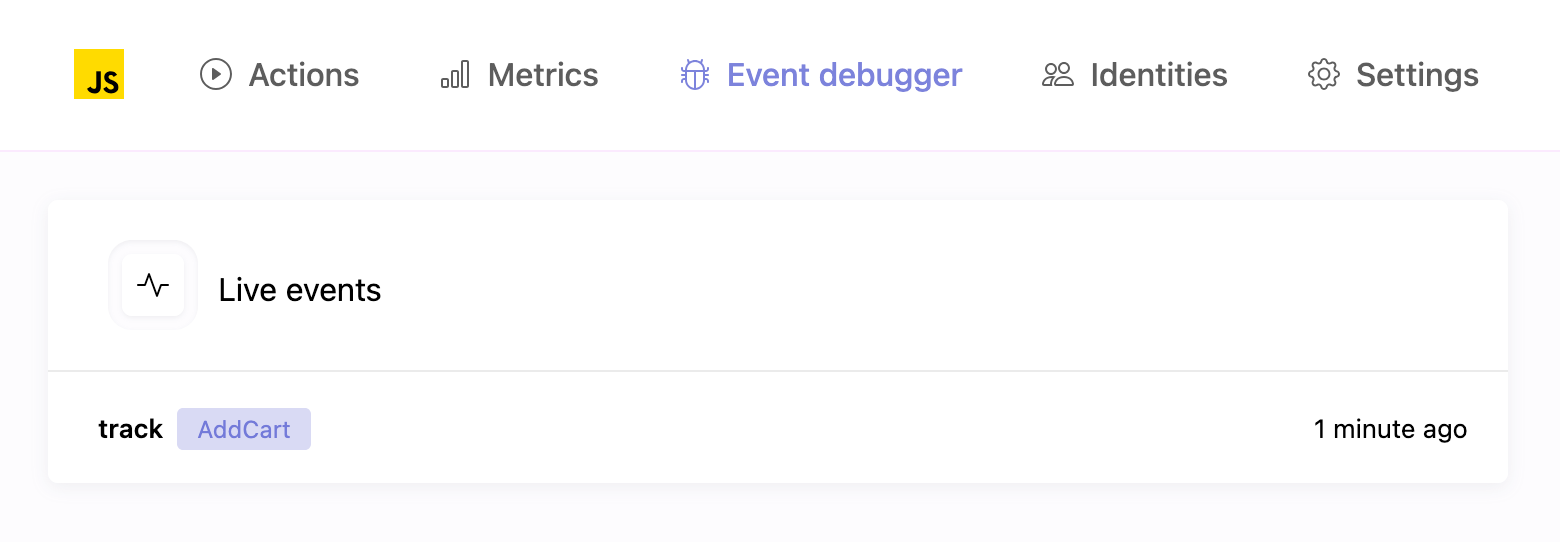
If the event does not appear after a few seconds, open your browser's console, reload the page, and check that no errors occurred and that the event was successfully sent.
-
Click the collected event in the Event debugger list to view its JSON payload, which contains the data sent by the browser.
The following example shows what a typical event payload looks like:
{
    "anonymousId": "b27c5d9f-92a7-4d30-b21a-4df21a6872c2",
    "context": {
        "browser": {
            "name": "Safari",
            "version": "17.2.1"
        },
        "ip": "172.91.24.57",
        "library": {
            "name": "krenalis.js",
            "version": "1.0.0"
        },
        "locale": "en-US",
        "os": {
            "name": "macOS",
            "version": "14.5"
        },
        "page": {
            "path": "/dashboard",
            "title": "User Dashboard",
            "url": "https://app.example.com/dashboard"
        },
        "screen": {
            "width": 3024,
            "height": 1964,
            "density": 2
        },
        "session": {
            "id": "1766272512048"
        },
        "timezone": "America/Los_Angeles",
        "userAgent": "Mozilla/5.0 (Macintosh; Intel Mac OS X 14_5) AppleWebKit/605.1.15 (KHTML, like Gecko) Version/17.2.1 Safari/605.1.15"
    },
    "event": "Workout Completed",
    "messageId": "82c8516b-434b-48f4-a32c-a6369e1543fd",
    "properties": {
        "workout_type": "Cardio",
        "duration_minutes": 45,
        "calories_burned": 380,
        "device": "Smartwatch"
    },
    "receivedAt": "2025-10-20T16:15:24.340Z",
    "sentAt": "2025-10-20T16:15:24.327Z",
    "originalTimestamp": "2025-10-20T16:15:23.992Z",
    "timestamp": "2025-10-20T16:15:24.010Z",
    "type": "track",
    "userId": null
}
💡 You can read the Event spec for full details on the schema of an event after it has been received by Krenalis.
4. Add a pipeline to import events
-
Click on the Pipelines tab of the connection for JavaScript.
-
Next to the Import events into warehouse pipeline, click Add pipeline....

5. Filter events
If you don't want to import all events from your website, use filters to select which events to import. Only events that match the filter conditions will be imported. If no filters are set, all events from the website will be imported. For more information on how to use filters, see the Filters documentation.

In the example above, only track events are imported.
6. Save your changes
When you're done, click Add (or Save if you're editing an existing pipeline).
Pipelines
Once saved, the new pipeline appears in the pipelines list for JavaScript. From here, you can monitor imports and adjust filters. Each pipeline defines how and when events flow from websites into your warehouse.

| Column | Description |
|---|---|
| Pipeline | Name and description of the pipeline. |
| Filters | Conditions used to select which events are imported. If not set, all events are included. |
| Enable | Switch to activate or deactivate the pipeline. When disabled, no events are imported. |
| Manage | Edit settings such as filter. |
| ⋮ (More) | Additional options, such as deleting the pipeline. |