
Activate events in Klaviyo
Learn how to send events in real-time to Klaviyo for activation.
 View as Markdown
How it works
- Select which events to send. Choose which events (e.g., Email Subscribed, Product Viewed, Purchase Completed) to send to Klaviyo.
- Filter and transform events. Send only the data that matters. Define conditions and transformations to ensure only relevant data is streamed.
- Send in real time. Krenalis sends events to Klaviyo in real time, enabling automations like welcome series or post-purchase follow-ups.
Result: Klaviyo receives both your latest customer attributes and pipelines — powering real-time engagement.
Before you begin
Before proceeding, make sure you have already configured at least one event source in Krenalis. Klaviyo activation requires an existing source, since events must originate from a connected source before they can be routed to this destination.
Steps
If you've already added a destination connection for the same Klaviyo account, you can reuse it and start with the Define a pipeline for each event step.
1. Create a Klaviyo API key
- Log in to your Klaviyo account.
- Click at the bottom left and then click Settings → Account → API Keys.
- Click Create Private API Key.
- Name the key, enable Custom Key, and grant Full Access to Events and Profiles.
- Create and copy the key.
2. Connect Krenalis with Klaviyo
- Go to the Destinations page of your Krenalis workspace.
- Click on Add a new destination ⊕ and click on the Klaviyo card.
- Click on Add destination....
- Paste the previously copied API key and click Add.
3. Link an event source
Events received from an event source are delivered to Klaviyo in real time. Click Link event source… and select one or more sources to define where events should originate from.
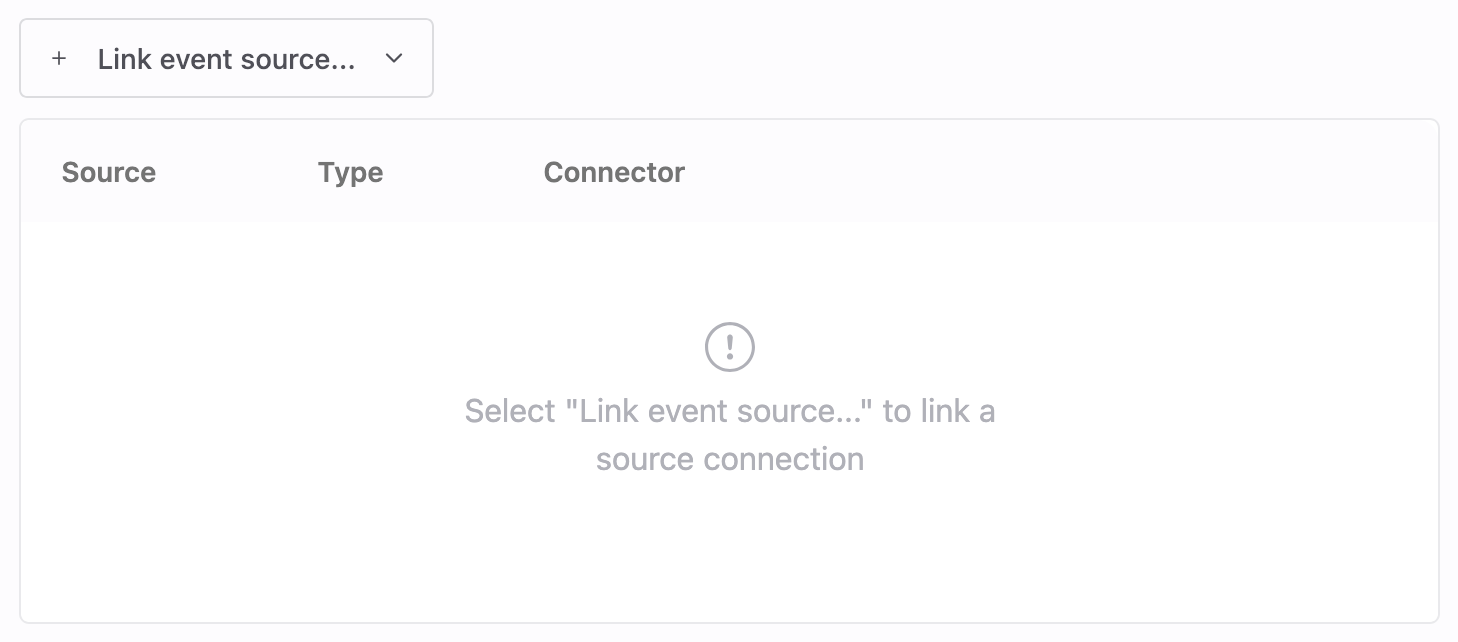
If no event sources are available, you can continue with the setup and link a source later. Keep in mind that event delivery cannot be tested until at least one source is connected.
4. Define a pipeline for each event
Krenalis lets you send different types of events to Klaviyo by creating a dedicated pipeline for each one.
Each pipeline specifies how a particular event is delivered — for example, a "Purchase Completed" event or an "Order Shipped" event.
On the connection page, in the Create event row, click Add pipeline... to define how events should be send to Klaviyo. To configure more events, click Add new pipeline ⊕ and select Create event. Repeat this process to define all the events you want to send to Klaviyo.

4. Set event conditions
Based on the event selected in the previous step, set a filter that defines the conditions the incoming event must meet. Filters let you control exactly when an event should be sent to Klaviyo — for example, only when specific properties or user pipelines occur.

For example, the filter above can be used to send an “Order Completed” event. In this case, Krenalis sends the event only when both conditions are true: the event type is track and the event name is Order Completed. This ensures that only relevant events are sent to Klaviyo, avoiding duplicates and keeping your analytics data clean.
5. Set event parameters
Next, define how the event data is sent to Klaviyo by mapping your event fields to the parameters expected by Klaviyo. Each parameter you configure determines how Krenalis transforms and delivers the event payload.
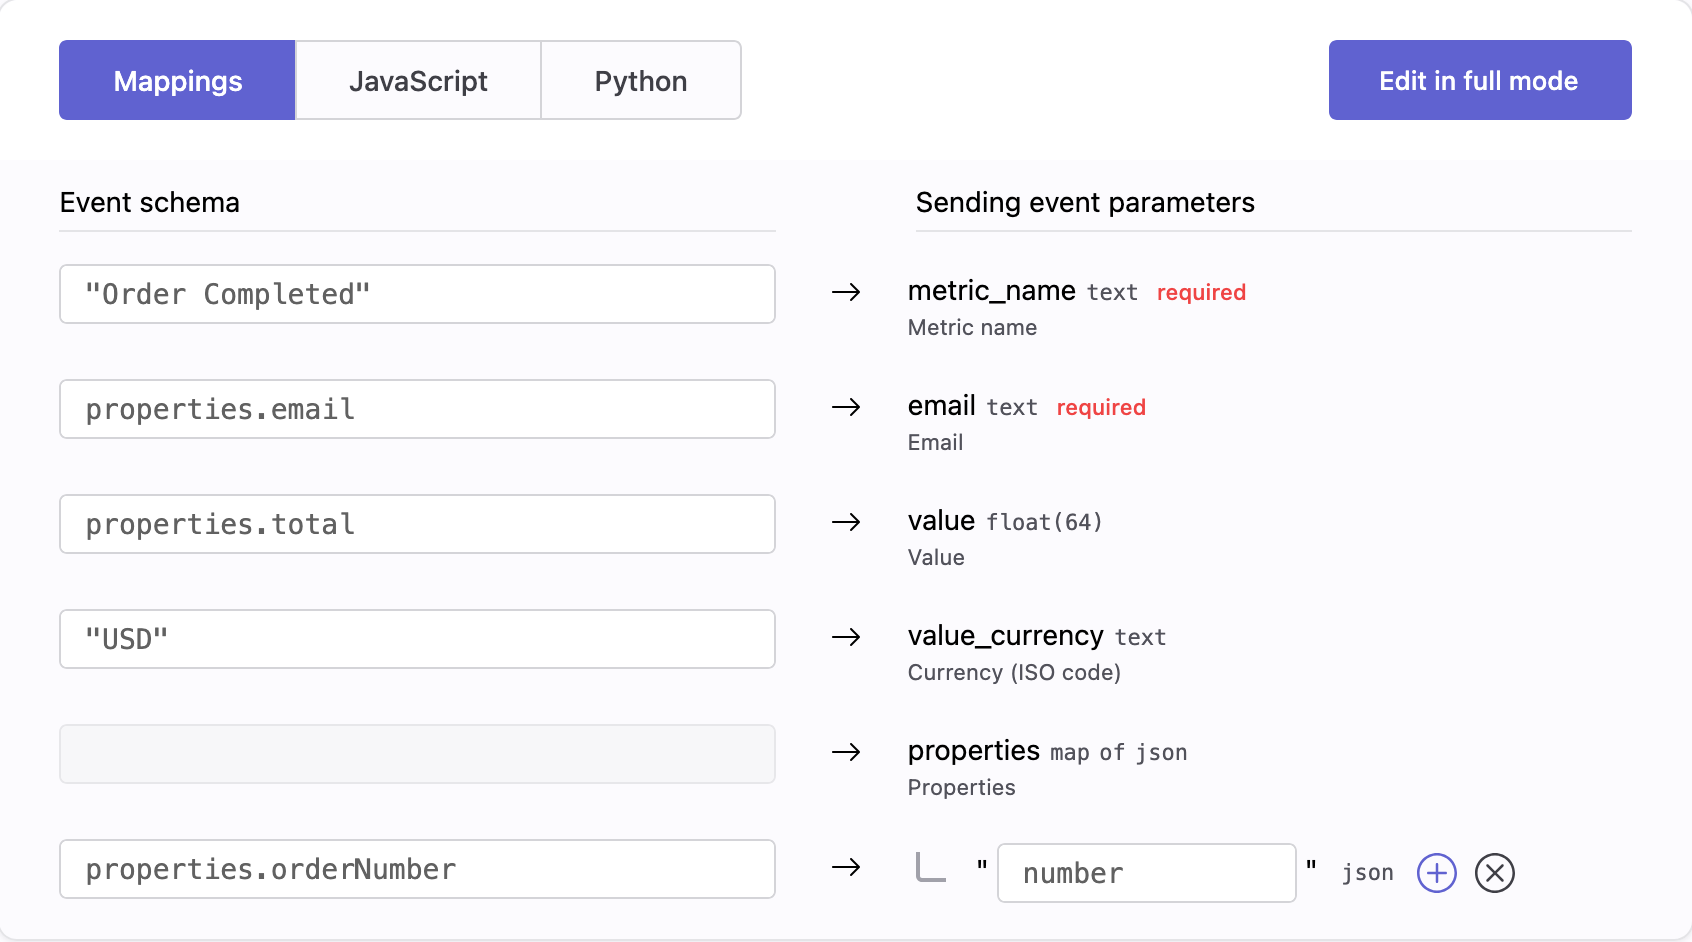
For example, the mapping above sends an Order Completed event with its key properties and values to Klaviyo. Note that both string values and event properties are mapped to Klaviyo's event fields.
6. Save your changes
When everything looks good, click Add (or Save if you're editing an existing pipeline). The new pipeline will appear in the Klaviyo connection page.
To send additional events to Klaviyo, repeat the process starting with the Define a pipeline for each event step.
Pipelines
Once saved, the new pipeline appears in the pipelines list for Klaviyo. From here, you can monitor imports and adjust filters. Each pipeline defines how and when events flow from sources to Klaviyo.
With a single Klaviyo connection, you can create multiple event pipelines, each dedicated to a specific event type you want to send.

| Column | Description |
|---|---|
| Pipeline | Name and description of the pipeline. |
| Filters | Conditions used to select which events are sent. If not set, all events are included. |
| Enable | Switch to activate or deactivate the pipeline. When disabled, no events are sent. |
| Manage | Edit settings such as filter and transformation. |
| ⋮ (More) | Additional options, such as deleting the pipeline. |